I have taken thousands of travel photos across 15 countries, and not a single one was shot on a dedicated camera. Every photo on this site — every sunset in Bali, every plate of pasta in Rome, every F1 car screaming through Monza — came from an iPhone.
Here is everything I have learned about getting photos that actually look good without carrying a bag full of gear.
Start With Clean Glass
This sounds obvious and it is the single most impactful tip I can give. Your phone lens picks up fingerprints, sunscreen, pocket lint. Before any shot, wipe it with your shirt. I cannot tell you how many “hazy” photos I blamed on lighting that were just a smudged lens.
Use the Grid and the Rule of Thirds
Turn on the grid overlay in your camera settings. Every phone has this option buried somewhere. Place your subject at one of the four intersection points instead of dead center. A temple gate at the left third with sky filling the right two-thirds will look better than centering it every time.
On iPhone: Settings > Camera > Grid. On Samsung: Camera Settings > Grid Lines.
Shoot During Golden Hour or Overcast Skies
The hour after sunrise and before sunset gives you warm, directional light that makes everything look cinematic. Harsh midday sun creates unflattering shadows and blown-out skies.
When I was in New Zealand, some of my best shots came on overcast days. The clouds act as a giant diffuser — even light everywhere, saturated colors, no squinting subjects.
If you must shoot at noon, look for shade. Covered markets, narrow alleys, tree canopies — they all give you softer light.
Get Low, Get Close, Get Different
The most boring travel photo is one taken from standing height, straight ahead, at arm’s length. That is exactly how 99% of people shoot.
Instead:
- Crouch down and shoot upward at a building to emphasize its height
- Put your phone on the ground for a dramatic low-angle street shot
- Get within arm’s reach of food, flowers, or details — phones focus better up close than you think
- Shoot through doorways, windows, or arches to create natural frames
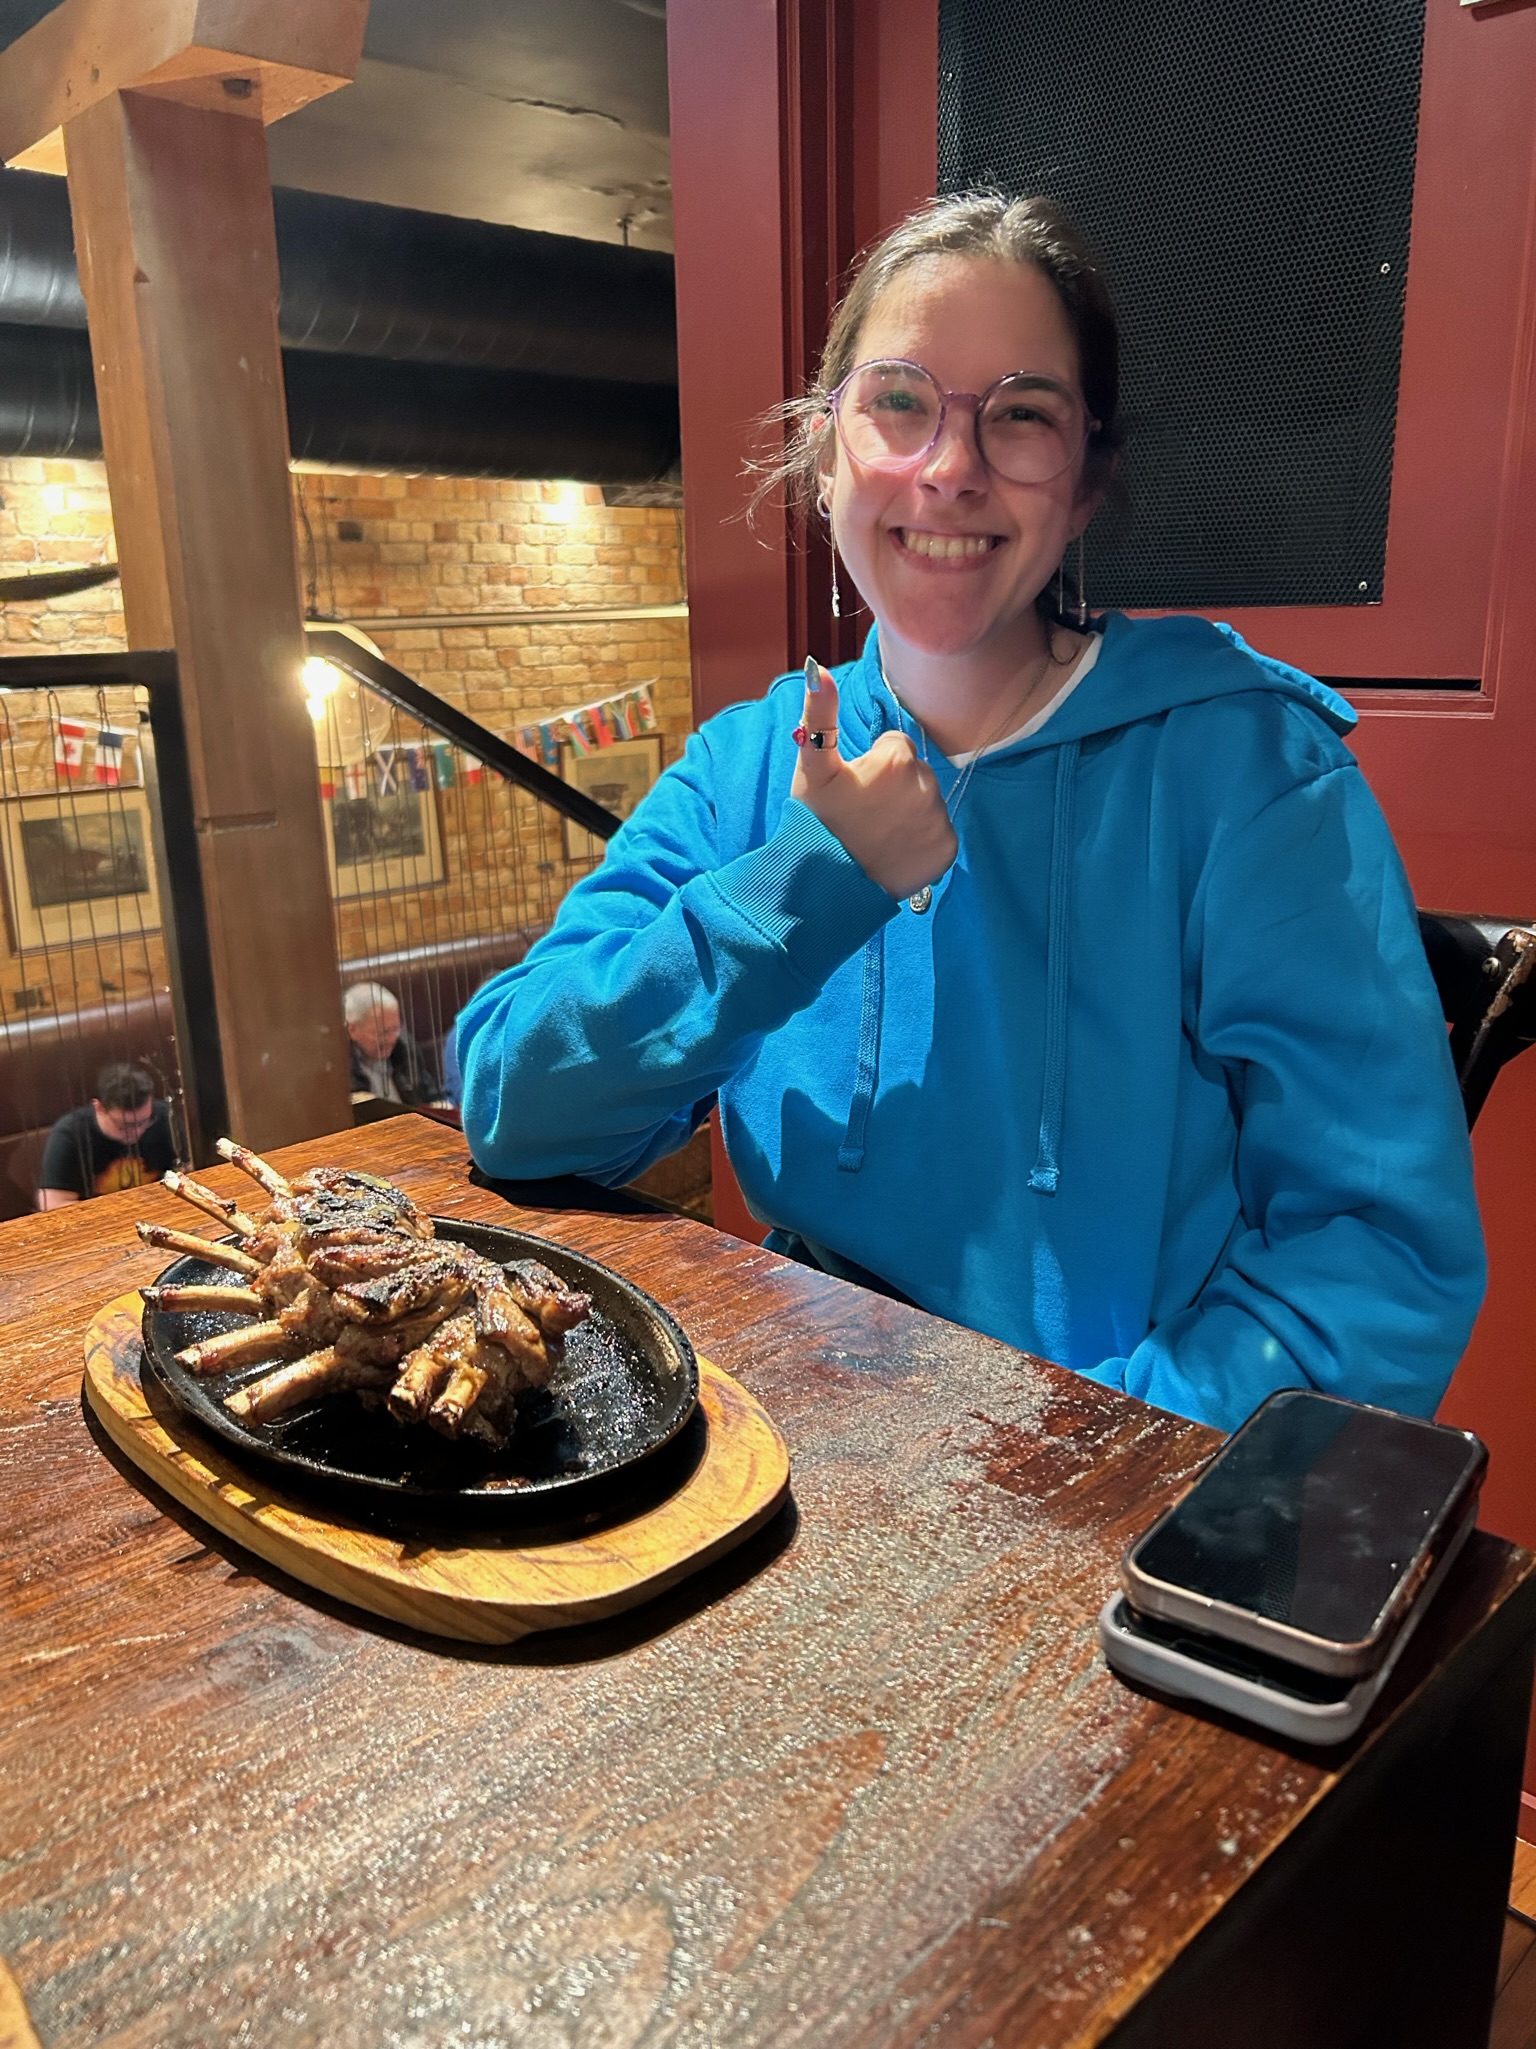
In Tokyo, I got my favorite shot by resting my phone on a ramen counter and shooting the bowl from table level. It looks like a food magazine shot and it took zero skill — just a willingness to look weird for three seconds.
Tap to Focus and Expose
Your phone does not know what you want in focus. Tap the screen on your subject before shooting. Then slide your finger up or down to adjust exposure (brightness). This single move fixes 80% of badly lit photos.
For backlit scenes — a person standing in front of a window, a sunset behind a temple — tap on the dark subject to brighten them. The sky might blow out slightly but your subject will be properly exposed, which matters more.
Use Portrait Mode for More Than Portraits
Portrait mode creates background blur (bokeh) that separates your subject from a busy background. Use it on:
- Food plates at restaurants
- Flowers and small details
- Street signs, menus, architectural details
- Drinks at a rooftop bar with a city skyline behind
It does not work well on moving subjects or in low light, but for anything stationary with a clear edge it produces results that look remarkably like a DSLR.
Stop Over-Zooming
Digital zoom destroys image quality. If your phone has 2x or 3x optical zoom (most modern phones do), use that. Beyond optical range, walk closer instead of pinching to zoom. A slightly wider shot that you crop later will always look better than a digitally zoomed mushy image.
Burst Mode for Action
At the Monza Grand Prix, I held the shutter button and let burst mode fire. Out of 40 frames, one was perfectly timed with the car in focus and the crowd blurred behind it. You cannot time a single tap that precisely — let volume do the work.
On iPhone, swipe the shutter button left. On Android, hold the shutter button down.
What Not to Bother With
- HDR for every shot — modern phones apply computational HDR automatically. Forcing it causes weird halos.
- Night mode for everything dark — night mode requires steady hands and produces unnatural results on moving subjects. Use it for architecture and landscapes only.
- Filters while shooting — shoot clean and edit later. You can always add a filter but you cannot remove one.
- Selfie sticks — honestly, just ask someone to take your photo. People everywhere are happy to help.
Gear Worth Carrying
I resisted buying accessories for years. These three actually improved my photos:
- Joby GorillaPod (mini tripod) — wraps around railings, sits on tables for night shots, weighs nothing. Around $30.
- Moment wide-angle phone lens — clips on, adds a wider field of view for landscapes and tight interiors. Around $80.
- Peak Design phone case with magnetic mount — attaches to tripods, car mounts, and bike mounts instantly. Around $50.
Total investment: about $160. Less than one nice dinner in Paris and it transformed my travel photography.
The Only Rule That Actually Matters
Take more photos than you think you need. Storage is free. Delete later. The worst travel photo regret is not having enough shots to choose from when you are home editing.
I take 200-400 photos per day on active travel days. Maybe 10 make it to this blog. The other 390 are experiments, duplicates, and bad angles — and that is fine. Each bad shot teaches you what does not work.
Your phone is already the best camera you own because it is always in your pocket. Use it.