My Travel Photo Editing Workflow — From 400 Raw Shots to 10 Keepers
Keep Reading
- How to Photograph Food While Traveling — No Camera Required
- Phone Photography Tips for Travel — How to Take Great Photos With Just Your iPhone
- How to Plan a Trip: The Tools, Timing, and Packing System That Works
Every trip, I come home with 2,000 to 4,000 photos on my phone. By the time they make it to this blog, that number is under 100. Here is the exact process I use to get from raw chaos to finished photos.
Step 1: The First Pass Cull (Day of Return)
I do this on the plane home or the first evening back. Open the Photos app and scroll through everything from the trip. I am looking for obvious deletes:
- Accidental pocket shots
- Blurry photos (pinch to zoom and check — some look sharp at thumbnail size but fall apart)
- Near-identical duplicates — keep the best one, delete the rest
- Screenshots of maps, menus, boarding passes (move to a separate album, do not delete)
This first pass typically cuts 40-50% of photos. I do not spend more than one second per photo. If I hesitate, I keep it and move on.
Step 2: The Second Pass (Next Day)
Now I go through what is left with fresh eyes. This time I am rating, not just deleting. I favorite (heart) any photo that:
- Tells a story about the destination
- Has good natural light
- Shows something I have not seen on every other travel blog
- Would make someone stop scrolling
I am ruthless here. A photo of the Colosseum looks exactly like everyone else’s photo of the Colosseum — unless I shot it from an unusual angle, in unusual light, or with an interesting foreground element. If my version does not add something new, it does not make the cut.
After this pass, I typically have 100-200 favorited photos from a two-week trip.
Step 3: Editing in Lightroom Mobile
I use Adobe Lightroom Mobile for all editing. The free version does 90% of what I need. Here is why I chose it over alternatives:
- Lightroom Mobile (my pick) — best adjustment controls, selective edits, excellent lens correction. Free tier is generous. Pro costs $10/month.
- Snapseed (free) — Google’s editor. Excellent for quick one-off edits. The healing brush and selective tool are great. Worse for batch workflows.
- VSCO — better presets than Lightroom but limited manual control. Good if you want a consistent aesthetic with minimal effort. Free tier is limited; $30/year for full access.
I stick with Lightroom because the manual controls let me fix specific problems (pull back a blown sky, brighten a shadow area) that preset-only apps cannot handle.
My Standard Edit — 90 Seconds Per Photo
I have a workflow that I apply to almost every travel photo. Once you build muscle memory, it takes under two minutes:
- Auto (one tap) — Lightroom’s auto adjustment is surprisingly good as a starting point. It handles exposure and contrast. I adjust from there.
- White balance — shift warmer (+5 to +15) for food, golden hour, and architecture. Shift cooler (-5) for blue hour and water scenes.
- Highlights down (-20 to -40) — recovers blown-out sky detail, especially in bright outdoor shots.
- Shadows up (+15 to +30) — opens dark areas without making the image look flat.
- Vibrance +15 — subtle color boost without the neon look of saturation.
- Clarity +10 to +20 — adds texture definition. Great for architecture, food, and street scenes. Keep it subtle on people.
- Crop and straighten — level the horizon (Lightroom has an auto-straighten tool), apply rule of thirds if the original composition was off.
- Lens correction on — fixes the slight barrel distortion from phone lenses.
Selective Edits for Problem Areas
Lightroom’s masking tools let you edit specific parts of a photo. I use these when the overall edit is right but one area needs help:
- Sky select — Lightroom auto-detects the sky. I often darken it (-15 exposure, +10 vibrance) to make sunsets and blue skies pop without affecting the foreground.
- Subject select — brightens a person or building without lifting the entire exposure.
- Brush tool — for targeted fixes like brightening a specific shadow or cooling down an overly warm area.
I use selective edits on maybe 20% of photos. For the rest, the standard workflow is enough.
Presets — Use Sparingly
Presets (filters) give you a one-tap look. I have two that I use:
- A warm, slightly faded preset for food and interiors (mimics film look)
- A high-contrast, cool preset for landscapes and architecture
I built these by saving my manual edits as presets in Lightroom. Starting from your own adjustments means the preset already matches your style.
Avoid heavy Instagram-style presets that crush blacks or add extreme color tints. They look trendy for six months and then date your photos permanently.
Organizing the Final Selects
After editing, I create albums by trip in Apple Photos:
- Japan 2023 — Selects (edited keepers)
- Japan 2023 — Blog (the 10-15 that will go on the site)
- Japan 2023 — All (the original dump for archival)
This three-tier system means I can always find the right photo for a post without scrolling through thousands.
The Gear That Actually Matters
After years of testing, here is what is in my travel photography kit. Everything fits in a jacket pocket.
Phone accessories:
- Joby GorillaPod mini tripod ($30) — for night shots, time-lapses, and overhead food photos
- Moment wide-angle lens ($80) — for interiors and landscapes where the standard lens feels too tight
- Peak Design Everyday Case ($50) — magnetic mount system for tripod, car mount, bike mount
Support gear:
- Anker 10,000mAh power bank ($25) — heavy photo days drain your battery by 3pm. This gives you a full extra charge.
- Samsung T7 portable SSD (1TB) ($90) — backup your photos every night. Hotels have bad WiFi and cloud uploads fail. A local backup saved me when my phone died in the Balkans.
What I Deliberately Do Not Carry
- A dedicated camera — phone cameras in 2026 match or exceed entry-level mirrorless cameras for 95% of travel photography. The weight, bulk, and lens-changing hassle are not worth it unless photography is your primary hobby.
- A drone — amazing footage but legally restricted in most interesting places. Half the countries I have visited ban recreational drones near landmarks, cities, or national parks.
- A gimbal/stabilizer — modern phones have excellent optical image stabilization. Gimbals add bulk and complexity for marginal improvement. If you shoot video professionally, maybe. For photos and casual clips, skip it.
The 10-Photo Test
Here is how I know my editing process works: for every trip, I challenge myself to pick exactly 10 photos that tell the complete story. If those 10 photos make someone who was not there feel like they experienced the trip, the cull was good.
Ten photos forces you to be brutal. You cannot include three nearly identical sunset shots. You have to pick the one. That discipline — choosing one perfect shot over ten decent ones — is what separates a travel blog from a photo dump.
The editing is not about making bad photos good. It is about making good photos great and having the discipline to delete everything else.
Frequently Asked Questions
How do you cull thousands of travel photos quickly?
Do a first pass on the day you return, deleting obvious misses (blurry, duplicate, bad exposure). Next day, do a second pass to narrow down to your best 10-20% per location. Speed comes from being ruthless about near-duplicates.
What is the best photo editing app for travel?
Lightroom Mobile is the most versatile option with powerful tools, preset support, and cloud sync. Snapseed is a strong free alternative. For quick social media edits, VSCO offers consistent film-style presets.
How long does it take to edit travel photos?
With a consistent workflow and saved presets, each photo takes 60-90 seconds. The culling process takes longer than editing. For a 2-week trip with 3,000 photos, expect 2-3 hours total from cull to final export.
Related Reading
Get Travel Tips That Actually Help
Real costs, honest reviews, and what I’d do differently — delivered to your inbox.
No spam. Unsubscribe anytime.
Share This Post
Travel Tools We Use
Affiliate links — we earn a small commission at no extra cost.
Written by Jenna Fattah
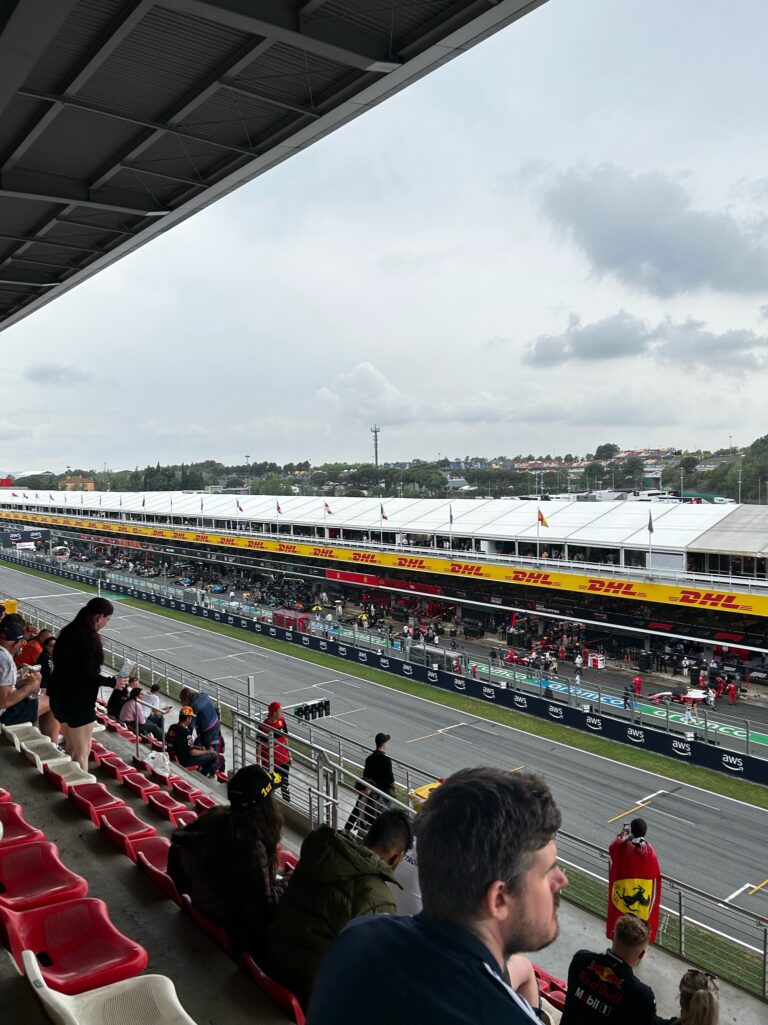
I have visited 25+ countries across 6 continents, attended 7 Formula 1 races, and spent 4 years writing about what actually works and what I would do differently. Every recommendation on this site comes from trips I planned and paid for myself. Read more about me